Changelog
Follow up on the latest improvements and updates.
RSS
AI Analyst 1.4 released to China
- Schools in China can now enjoy a new version of the AI Analyst
- (this version is already available for countries outside )
Payment Filters on Rosters
- Schools can now filter for a wide range of payment information

Added ‘Internal Fee’ name for invoice management
- Schools can now add an internal name to their fees that only they can see
Updated naming for CRM & Advancement Settings
- Clearer naming in Settings for schools that have the Advancement module enabled
We've released several updates to event features which allow you greater control in which types of events you can host!
- You can now create any type of custom event types. Select 'New Event Type' in your event settings

- You can associate that specific event type in a checklist item

- You can display this event type with it's own tile on your landing page and parent profiles

- You can also create multiple unique event forms

- Add that event form to your new event type

- Disable automatic notifications for events. Settings > Admissions > Status & Notifications

-----------------------------------------------
- New Sign In option for admins

-----------------------------------------------
- New 'black' text on Notes/Messages

-----------------------------------------------
- Faster Search (we've improved speeds by x2)

-----------------------------------------------
- The 'Paid On' section to the applicant profile fees tab

A new way to create, manage, and distribute fees!

- Navigate to your new 'Fees' settings to create new itemized invoices

- A new section in applicant profiles to better manage fees

- Configure application checklists to automate the fee invoicing process

- Invoice in bulk via the Applicant Roster
Watch this video tutorial for more details!
The Focus Dashboard is a tool that allows you to track incoming applicants at each stage.
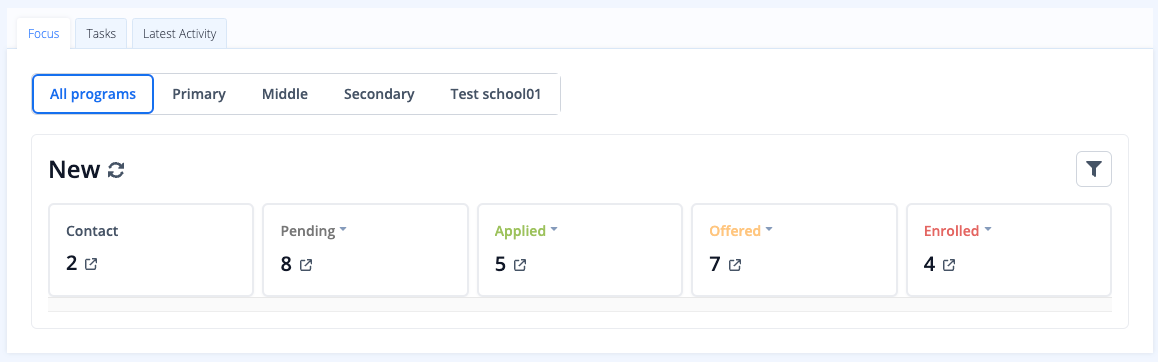
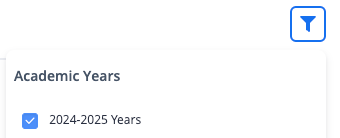
Make sure to filter correct Academic Year:
The Focus Dashboard will log applicants as soon as their status changes, or as soon as they enter into your OpenApply account. After you've successfully viewed the new applicant (according to your own school's workflow), check the 'Viewed' option for the applicant to be removed from the list. You can see which of your colleagues have 'Viewed' certain applicants.

** after you checked 'Viewed', the applicants will remain on the dashboard until the end of the day
You can now filter for certain milestones by dates for your Contacts!
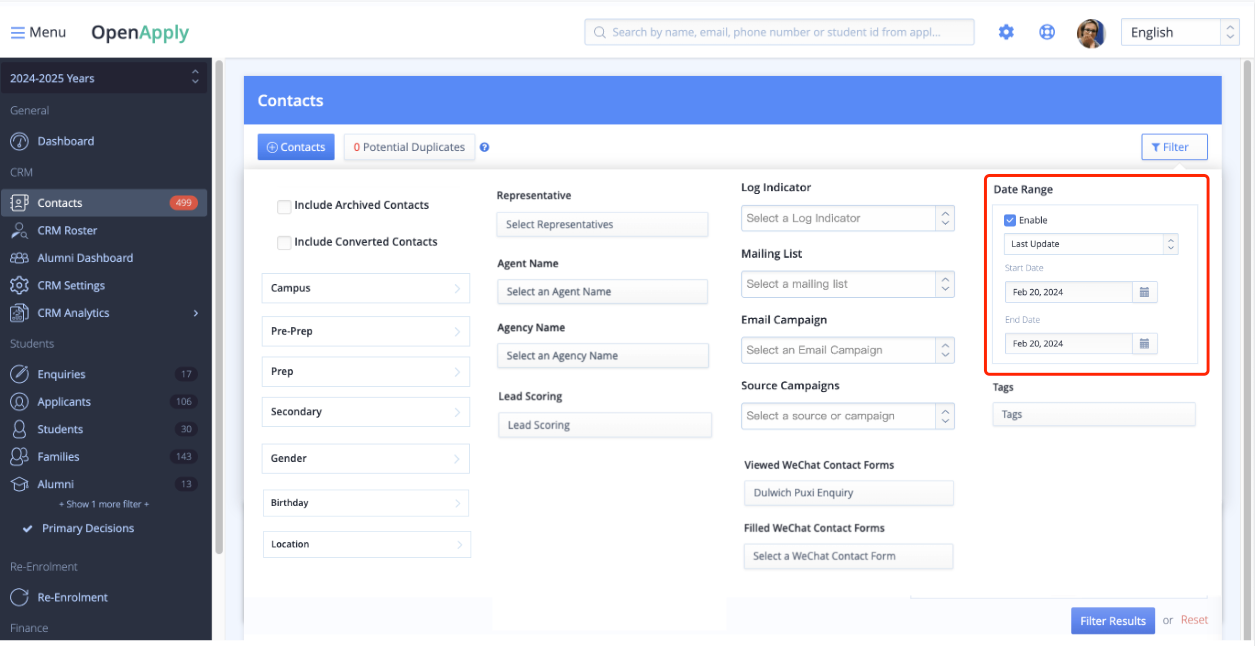
This will help you narrow down your Contact filter to a specific timeframe, allowing you to find the Contacts that are the most active or most likely to convert to applicants.
**Contacts are only available through purchase of the CRM module. If you're interested in trialing the CRM module, please contact sales@openapply.com
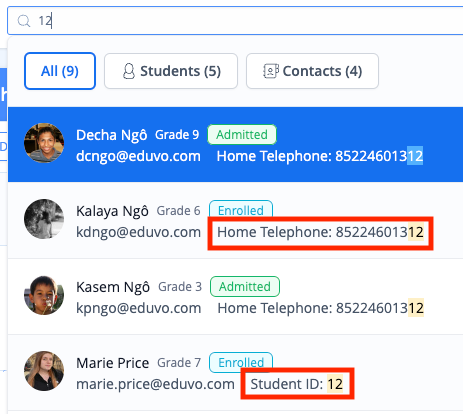
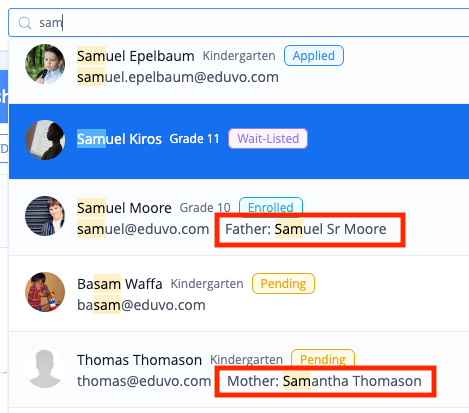
We've released a new search experience!
- New searchable fields: Applicant ID, Student ID, Home Phone Number, Mobile Phone Number, and Parent Names.
- Displays and highlights relevant fields in the drop-down UI.
Phone number and IDs:
Parent Names:
You can now easily enable the
Reapplication Process
for students! Steps:
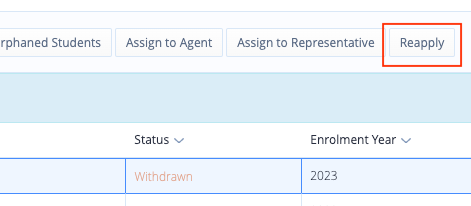
- Go to your Applicant or Alumni Roster, and select Declined, Waitlist, or Withdrawn students
- Click 'Reapply'
- Enable/Disable the notification (enabled is recommended). You can configure the notification in your Settings
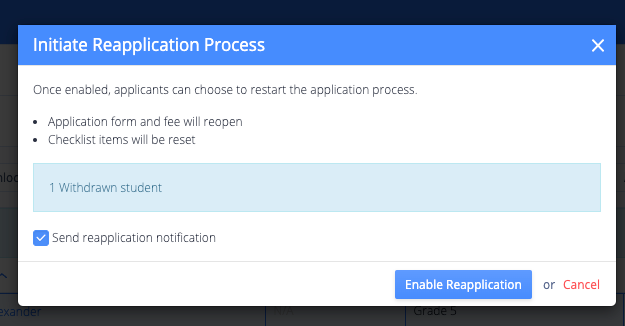
- Parents will receive an email informing them that they can now reapply. When parents have successfully submitted a new application form, the student's status will revert back to 'Applied'

**
Notes
- Application Checklist items will be reset, but you will not lose any historic data (Questionnaires/Reference Forms will not be reset)
- If your application form has a fee, the parent will need to pay again
- Parents will be able to choose from any enabled application form that is displayed on the landing page. If there are no displayed application forms, then application forms on the Checklist will be listed to the parent.
Please contact support@openapply.com if you have any questions.
The new parent user interface has been released to most schools. The updated UI provides a streamlined experience for parents for easy navigation. Please read our blog post for more information.
- Updated landing page with large tiles, optimized for mobile viewing
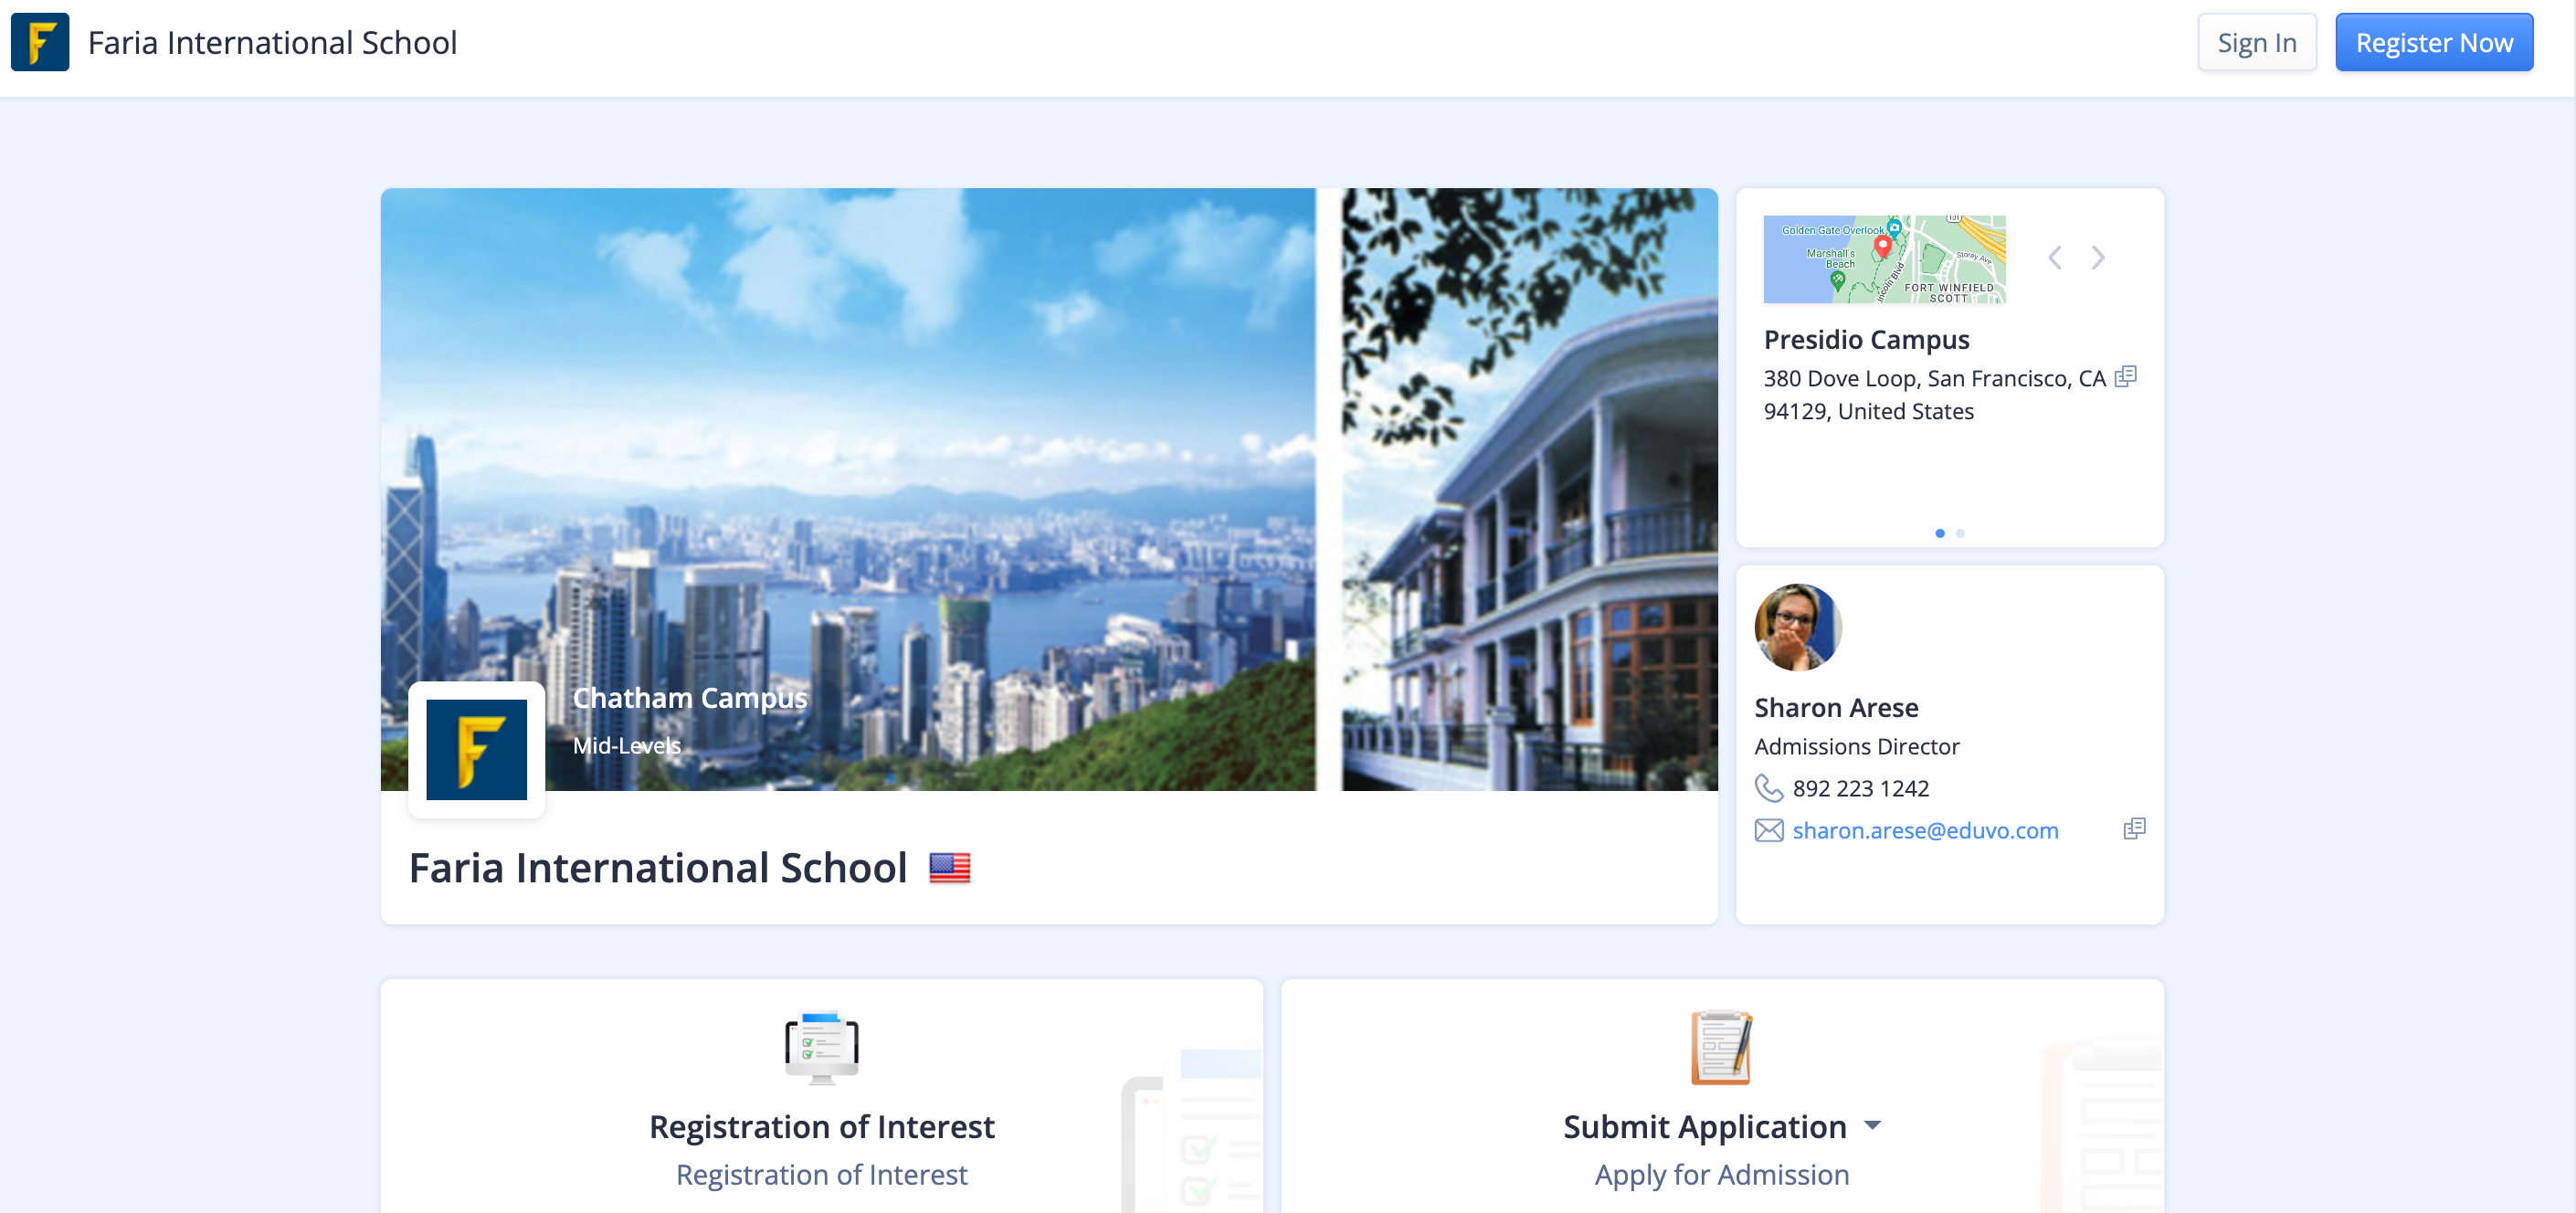
- Easy navigation between siblings
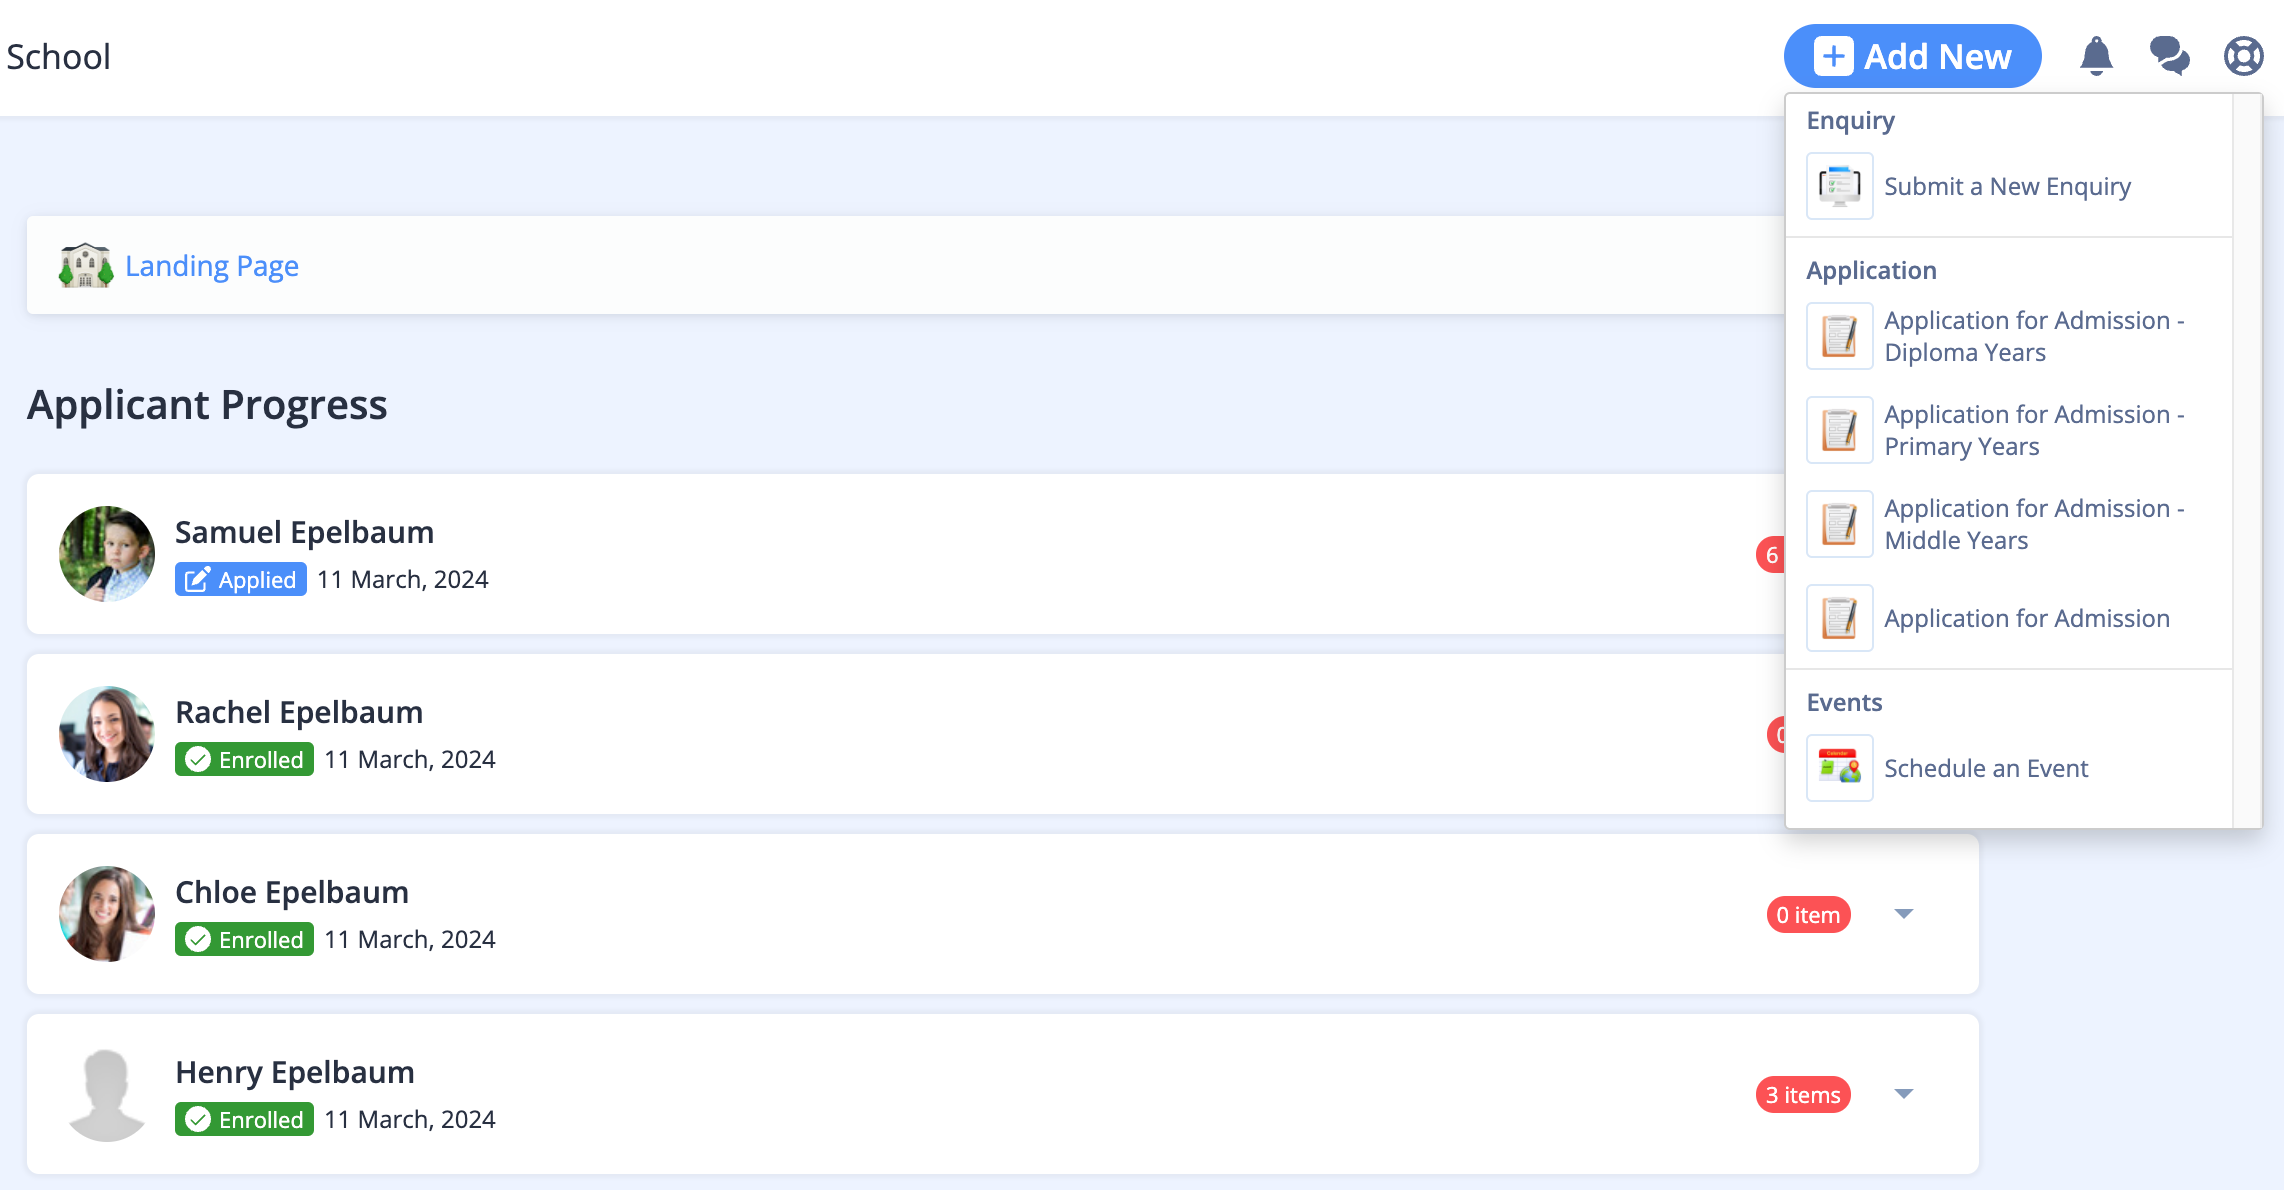
- Clear checklists items so parents can't miss
Optional Checklist Items
- Mark any checklist item as optional
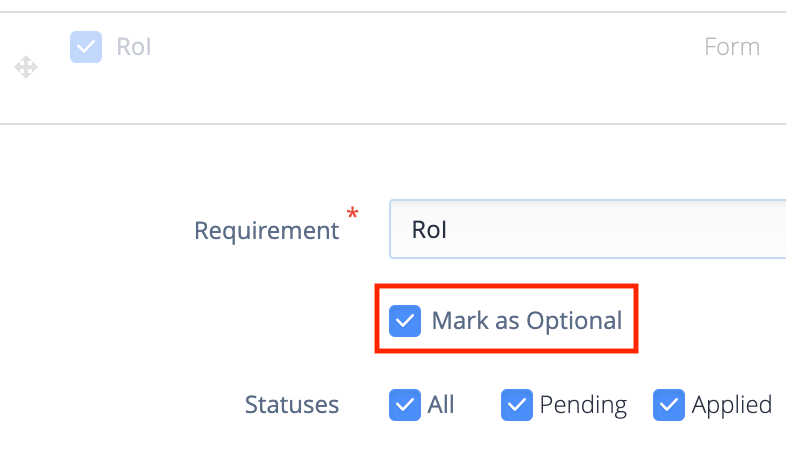
- Parents will see the checklist item as optional, and can disable it. They can also 'Reopen' the item to complete it

- You can exclude Optional Checklist items in the Roster filter, in case you only want to see the required items

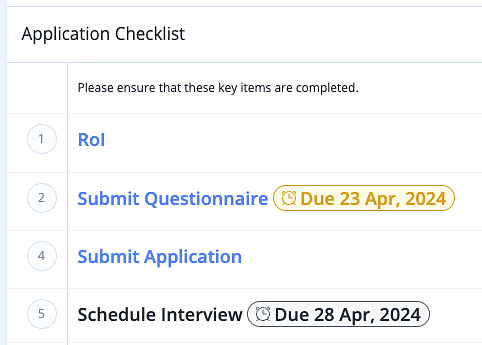
You can now add
Due Dates
for Checklist items for parents!There are two different types of due dates:
- Specific Datesyou can set both an Open Date and/or a Due Date. Open Date is the date the checklist item will appear for the parent, and the Due Date is when the parent should complete it by. This type is for specific calendar dates, useful if the due date is the same for every applicant. You can assign Open and/or Due Dates - both are not required.
- Timeframethe due dates will be different for each applicant. The date is assigned based on when the item first become available. For example, if the Timeframe is '7 Days', Student A's checklist was assigned last week, so the due date is today. Student B's checklist was assigned today, so the due date is next week.
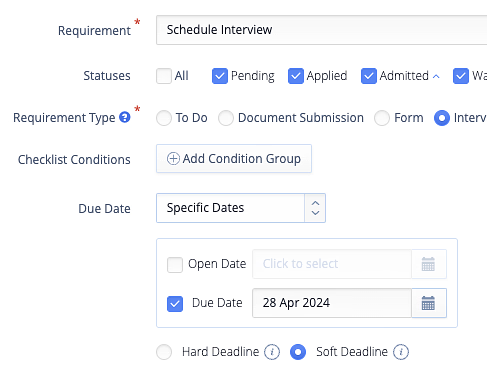
There are two different types of deadlines:
- Soft DeadlineThis deadline serves as a visual cue to the parent. If it's past due, the parent can still complete it.
- Hard DeadlineIf this deadline is past due, the checklist item will not appear on the parent UI for the parent to complete.
Note on UI:
Yellow UI = due date is within 3 days
Red UI = due date is in the past (overdue)
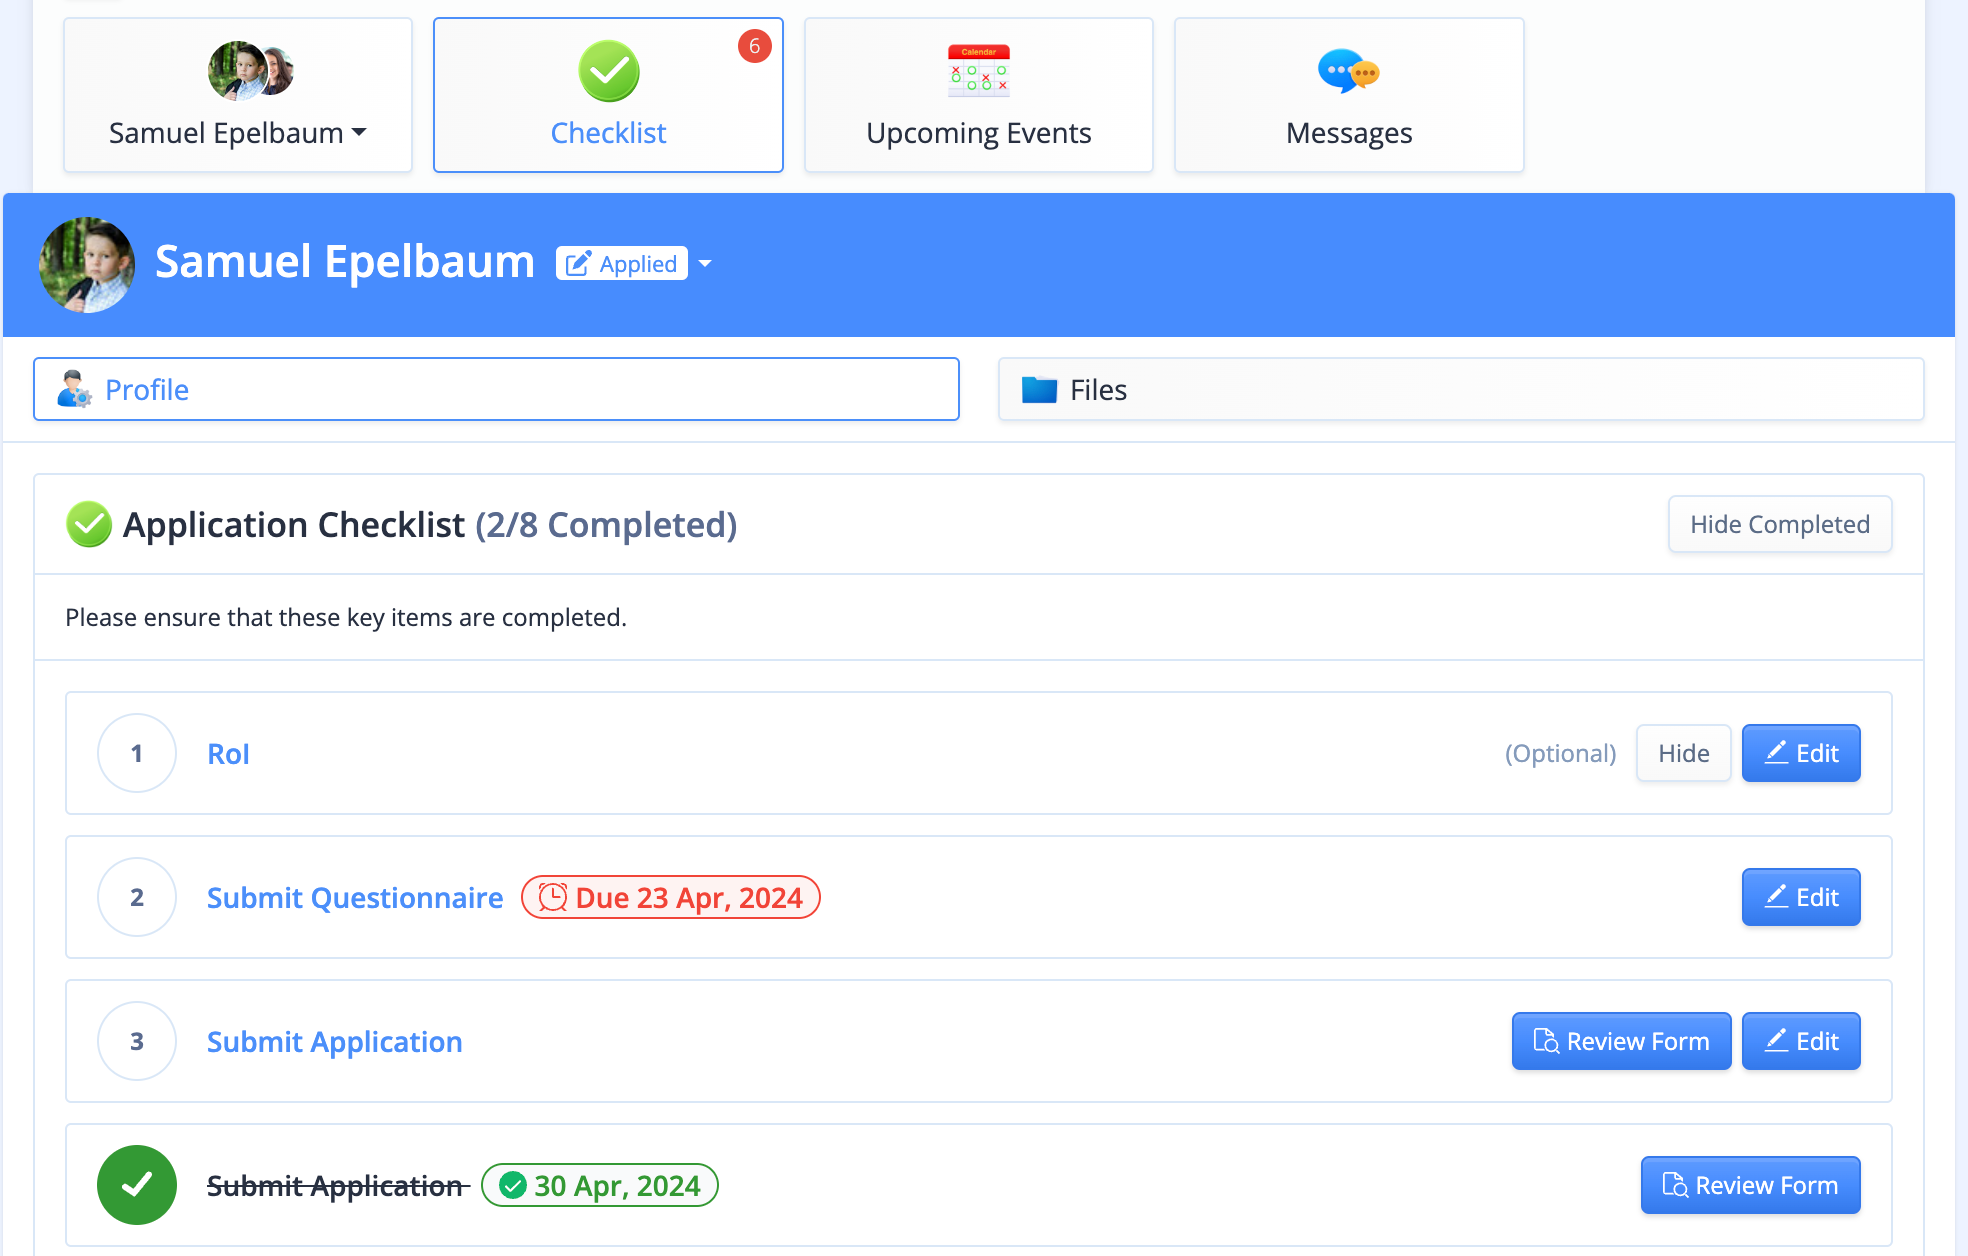
Parent UI:
Admin Roster:

Load More
→